



ENTREE: TRAEGER FRENCH ONION FOCACCIA
Trina Dunkin • January 20, 2025
Traeger French Onion Focaccia
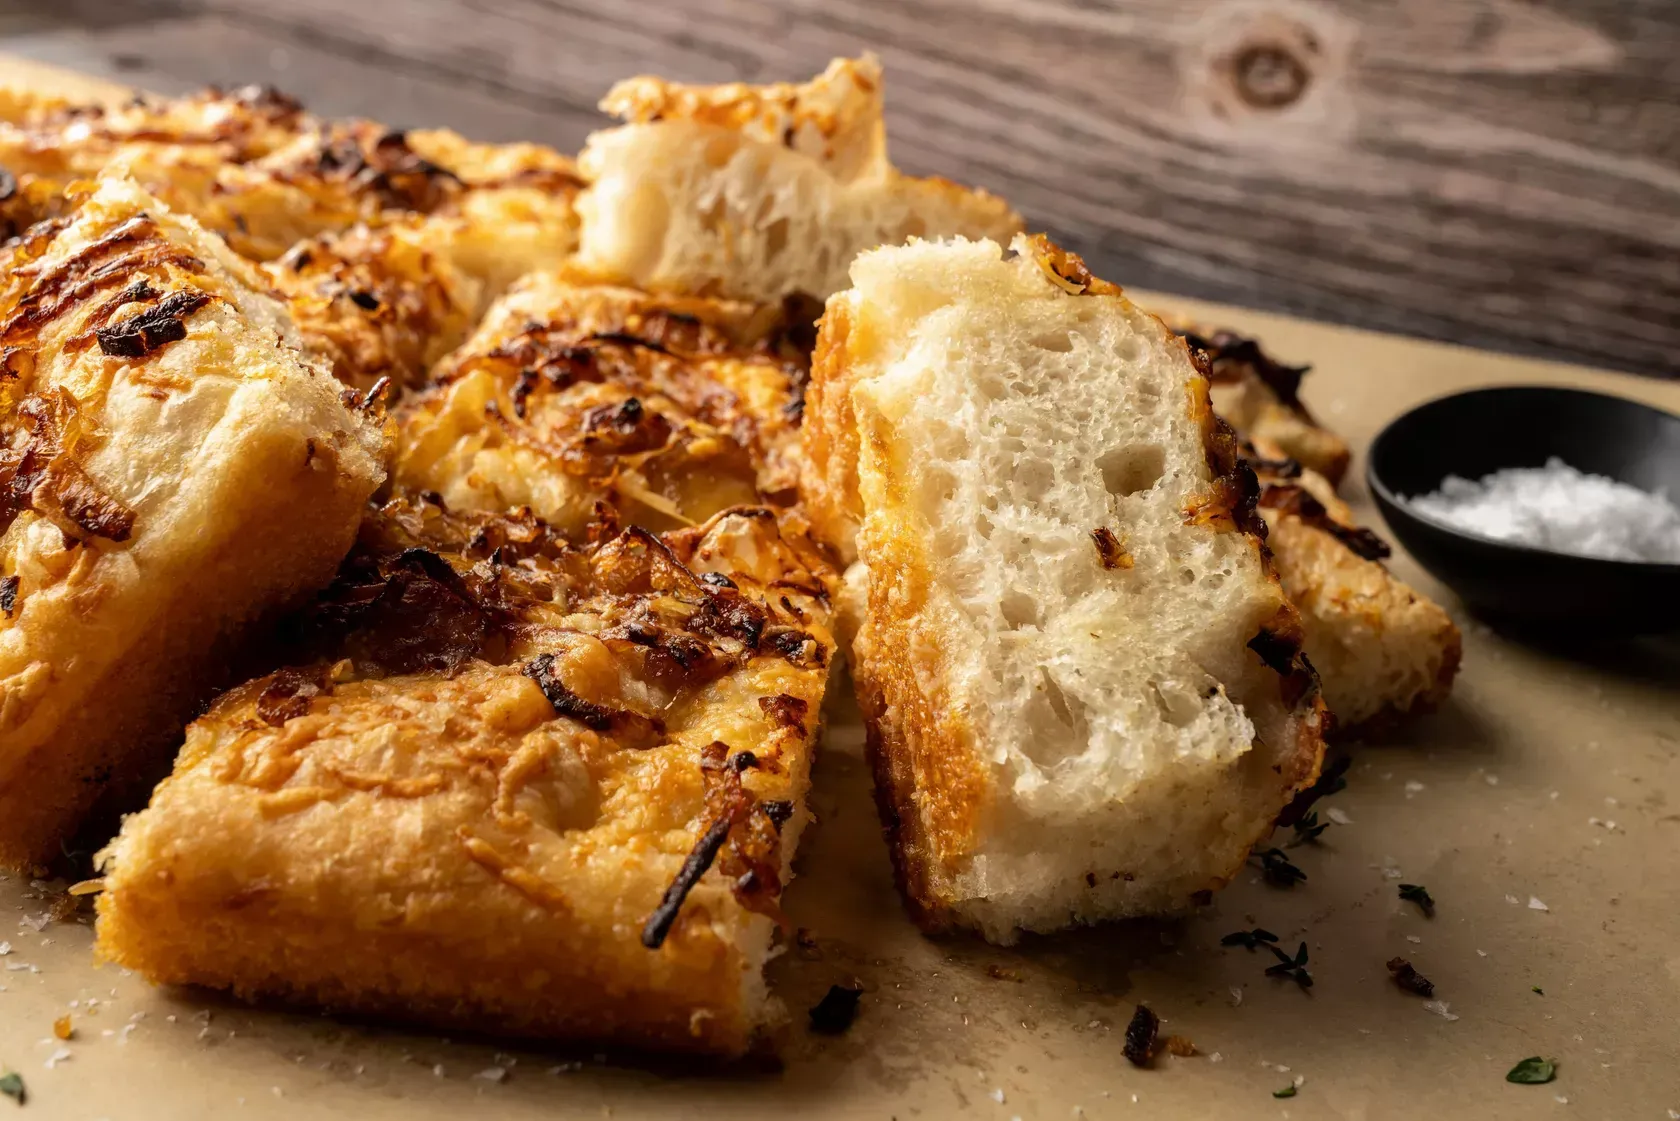
Love French onion soup? This caramelized onion focaccia features all that makes it so good just minus the broth. You get rich and sweet slow-cooked onions plus nutty, melty Gruyère all in a bready bite baked with a kiss of wood-fired flavor. Note that this recipe was developed with Diamond Crystal kosher salt in the dough. If using a different salt, go with the weight instead of the volume as salts have different crystal sizes.
Prep Time
30 Min
Cook Time
45 Min
Pellets
Pecan
Ingredients
Caramelized Onions
2 Tablespoon salted butter
2 yellow onions, thinly sliced
Kosher salt
3 garlic cloves, minced
Focaccia
2 1/2 Cup warm water (about 110°F)
1 Tablespoon honey
2 1/4 Teaspoon active dry yeast
5 Cup (725 grams) bread flour
2 Tablespoon plus 2 teaspoons kosher salt (25 grams)
1/2 Cup high quality extra-virgin olive oil, divided
Topping
4 Ounce Gruyère, grated (about 1½ cups)
2 Tablespoon high quality extra-virgin olive oil
1 Tablespoon flaky sea salt
Steps
1
Make the caramelized onions: Melt the butter in a large sauté pan over medium heat. Add the onions and a pinch or two of salt. Cook, stirring occasionally, until the onions are soft and deeply browned. This will take at least 20 minutes and maybe longer so be patient. Once the onions are caramelized, add the garlic and cook for another minute or two. Remove from the heat and cool completely. (The onions can be caramelized a day ahead of using them; keep them covered and refrigerated.)
2
Make the dough: In the bowl of a stand mixer fitted with the dough hook, combine the water, honey, and yeast and mix with your fingers until combined. Let stand 5 minutes until cloudy and foaming.
3
In a separate medium bowl, combine the flour and salt and mix well. Add the flour mixture to the water mixture and mix on low just until the dough begins to come together, about 1 minute. Increase the speed to high and knead until the dough wraps around the hook and pulls away from the sides of the bowl, about 10 minutes. Because this is a high hydration dough, it will look too wet in the beginning but trust the process and just let the machine work and it will come together. The dough should be slightly tacky and silky smooth.
4
Pour ¼ cup of the olive oil into a clean, large bowl and swirl to coat. Using a flexible bench scraper, scrape the dough into the oiled bowl. Spread a bit of the oil over the top of the dough and cover the bowl with plastic wrap. Place in a warm spot in the kitchen and let rise until doubled in size, 1 to 1½ hours.
5
Add the remaining ¼ cup oil to a large, rimmed baking sheet or a 9x13 inch baking dish. With oiled hands, loosen the dough from the sides of the bowl. Place your hands under the dough and lift it allowing the dough to fall downwards and stretch. Lower the dough back down allowing it to fold onto itself. Rotate the bowl 90 degrees and repeat the stretch and fold. Repeat one more time, but this time, when you lower it, lower it onto the oiled baking sheet. Work your hands underneath the dough and gently lift and pull the dough to the edges of the pan. Repeat all around until the dough begins to shrink back. Lightly oil the top of the dough with some of the excess oil in the pan and cover lightly with plastic wrap. Let rise a second time at room temp until doubled in size, about 45 minutes. (Alternatively, if you aren’t ready to bake straightaway, you can transfer the dough to the fridge and let it slowly rise for at least 8 hours and up to 24 hours. When ready to bake, let it sit at room temperature for 45 minutes to an hour to take the chill off.)
6
When ready to bake, position a grill grate in the highest position in your grill if that’s available; if not, it will bake fine on the lower grate, you will just want to check on its doneness sooner. Preheat the grill with the lid closed to 425°F; this will take at least 15 minutes.
425 ˚F / 218 ˚C
7
Sprinkle the cheese and caramelized onions over the top of the risen focaccia dough. Drizzle with the 2 tablespoons extra-virgin olive oil and sprinkle with flaky sea salt. Oil your hands and poke the dough all over ensuring your fingers reach the bottom of the pan to create dimples.
8
Transfer the focaccia to the grill placing it on the bottom grate. Bake for 25 minutes.
425 ˚F / 218 ˚C
00:25
9
If available, transfer it to the top rack. Continue to cook until the onions are a deeper brown and the focaccia is pulling away from the sides of the pan, about another 20 minutes if on the top grate; begin checking earlier if on the bottom. The cheese should be melted and the bread lightly browned.
425 ˚F / 218 ˚C
00:20
10
Remove the focaccia from the grill and let cool for 10 minutes. Remove from the pan, slice, and serve. Enjoy!
click here
to Check out our traeger lineup!!
Share Our Blog Post(s) However You'd Like!
Contact
For More Information Regarding this mower please get in touch with our digital team below, or come and see us in store at one of our 5 locations. We like phone calls too!
Contact Us
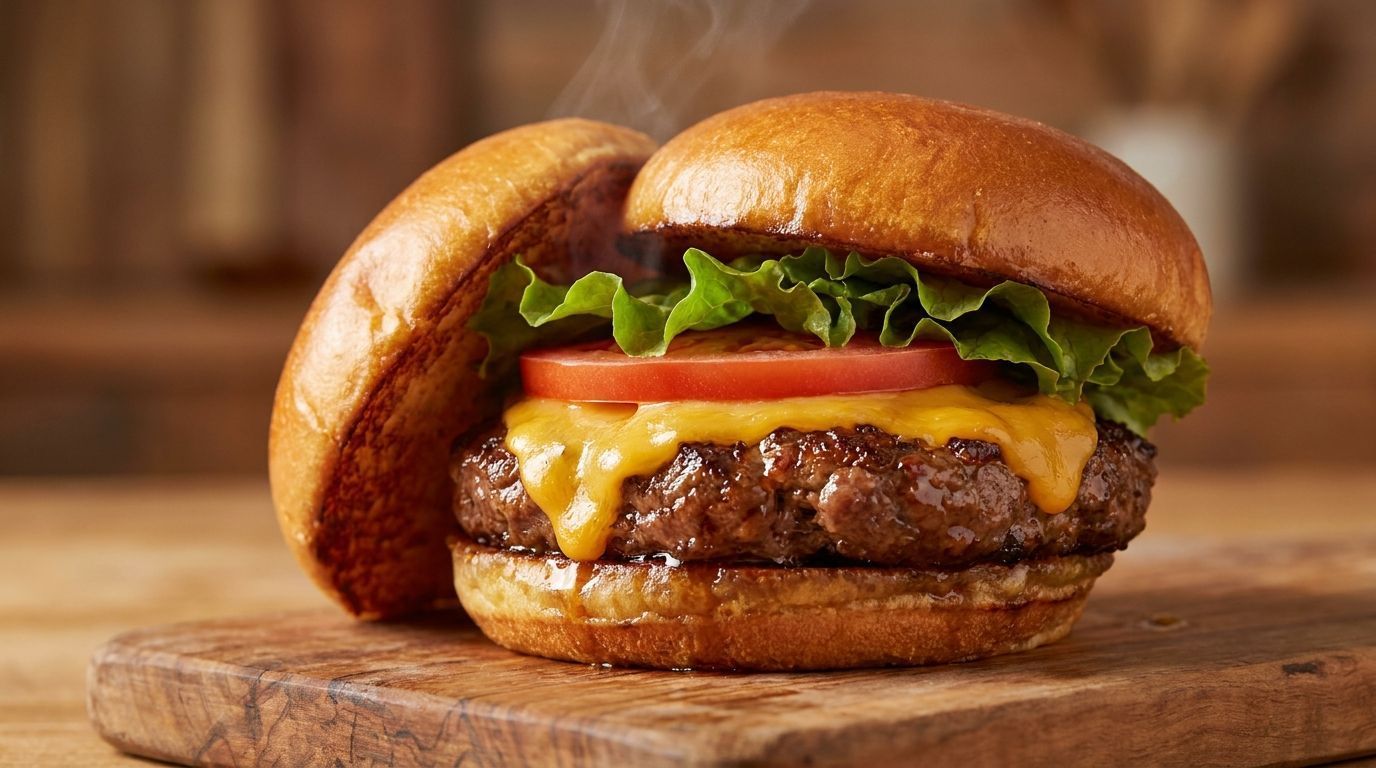
Discover a delicious Maple Bourbon Burger recipe perfect for your Blackstone grill. Easy to follow, ideal for beginners.
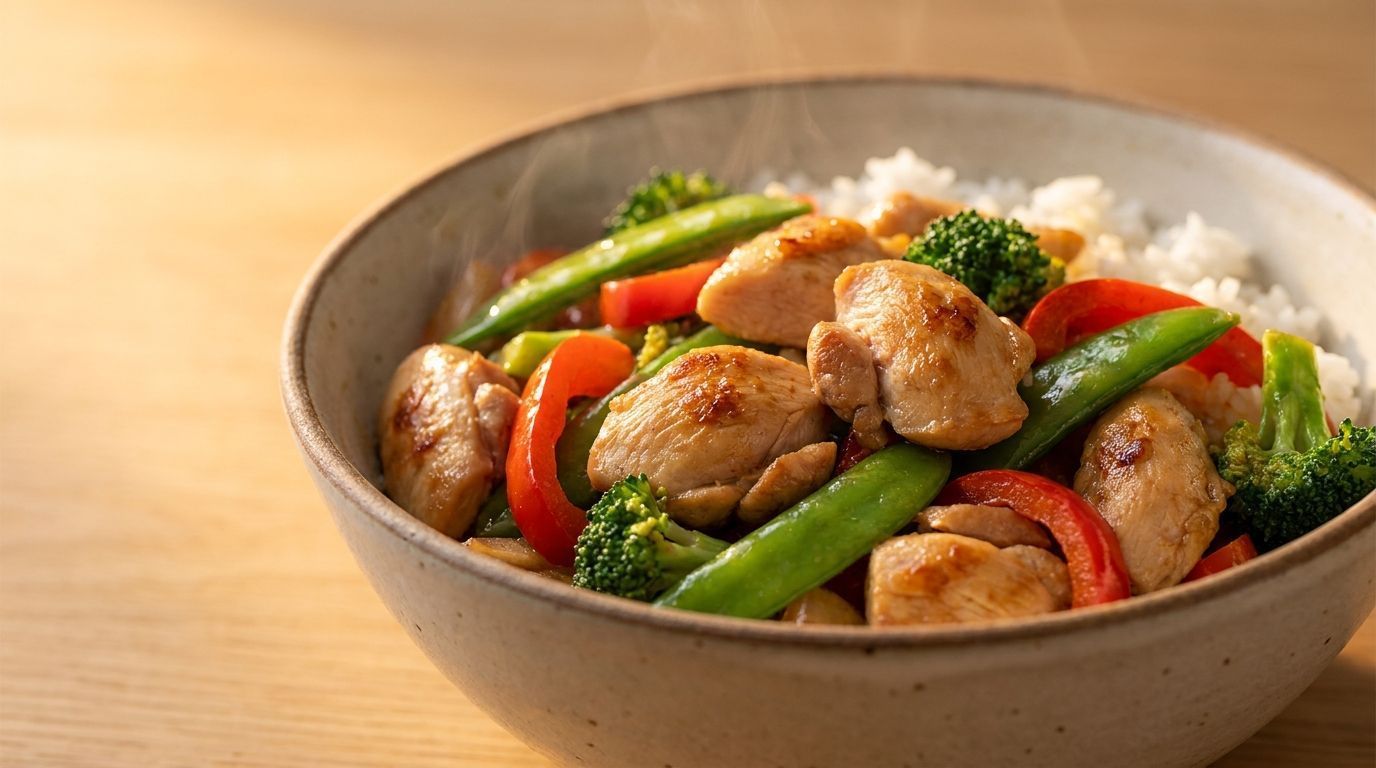
Learn how to make a simple and tasty chicken stir-fry on your Blackstone grill. Perfect for beginners!
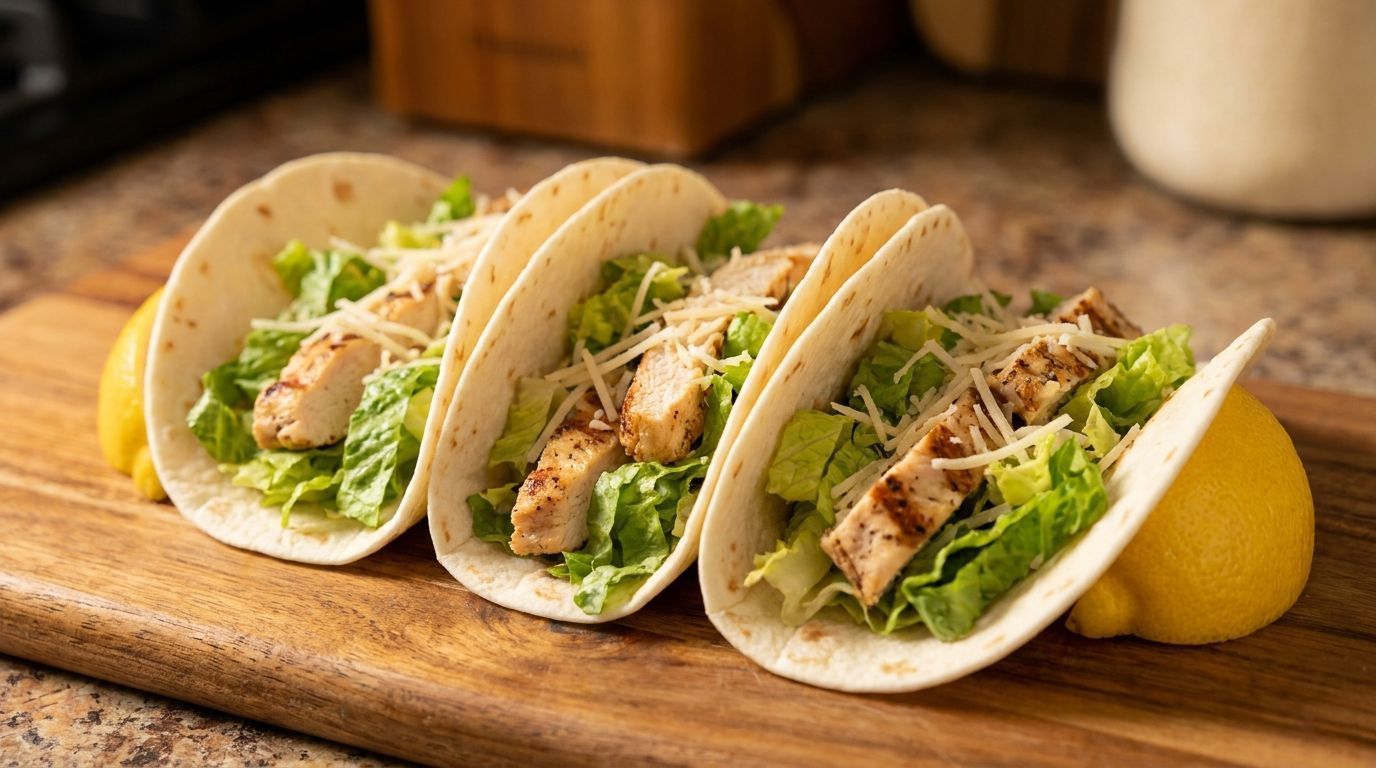
Learn how to make tasty Chicken Caesar Tacos using your Blackstone grill. This beginner-friendly recipe is perfect for family meals.
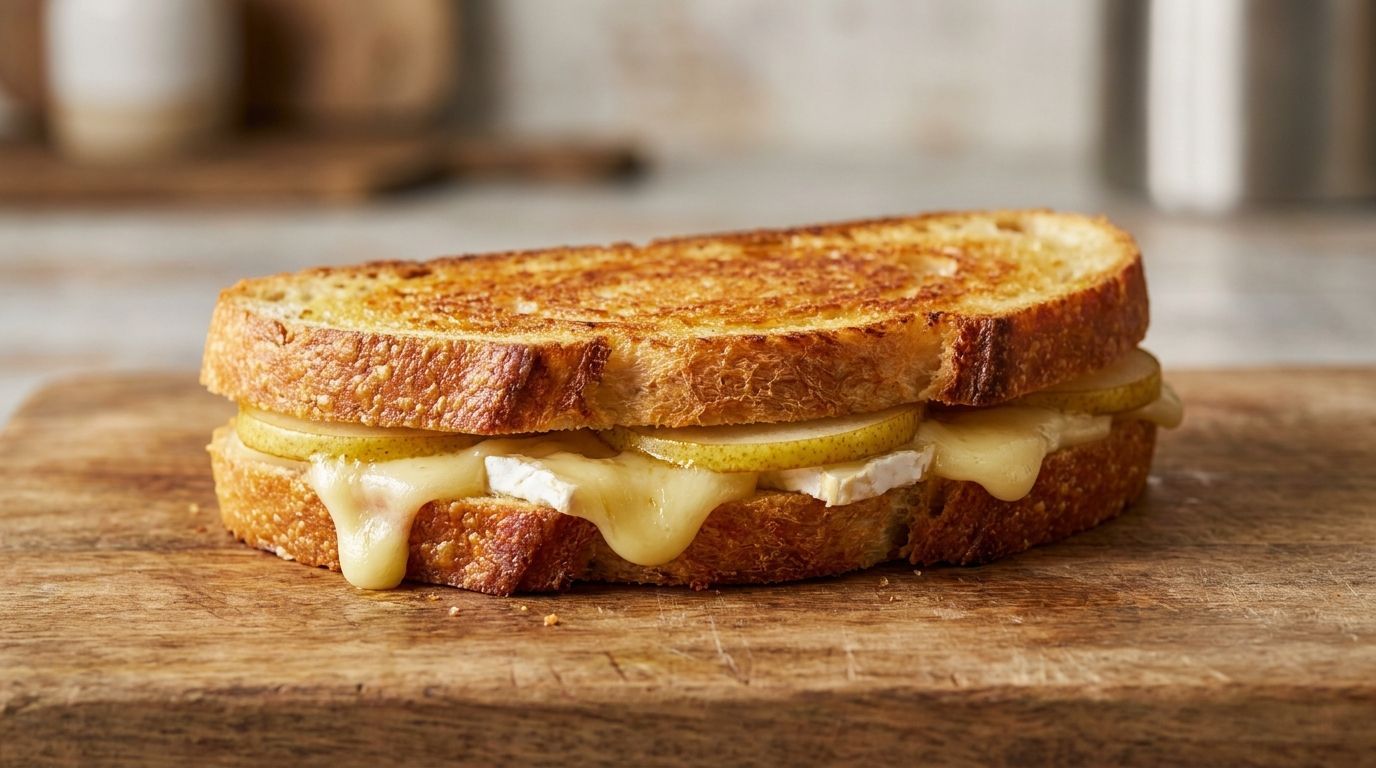
Discover how to make a delicious grilled cheese sandwich with pears and creamy brie on your Blackstone grill. Perfect for beginners!
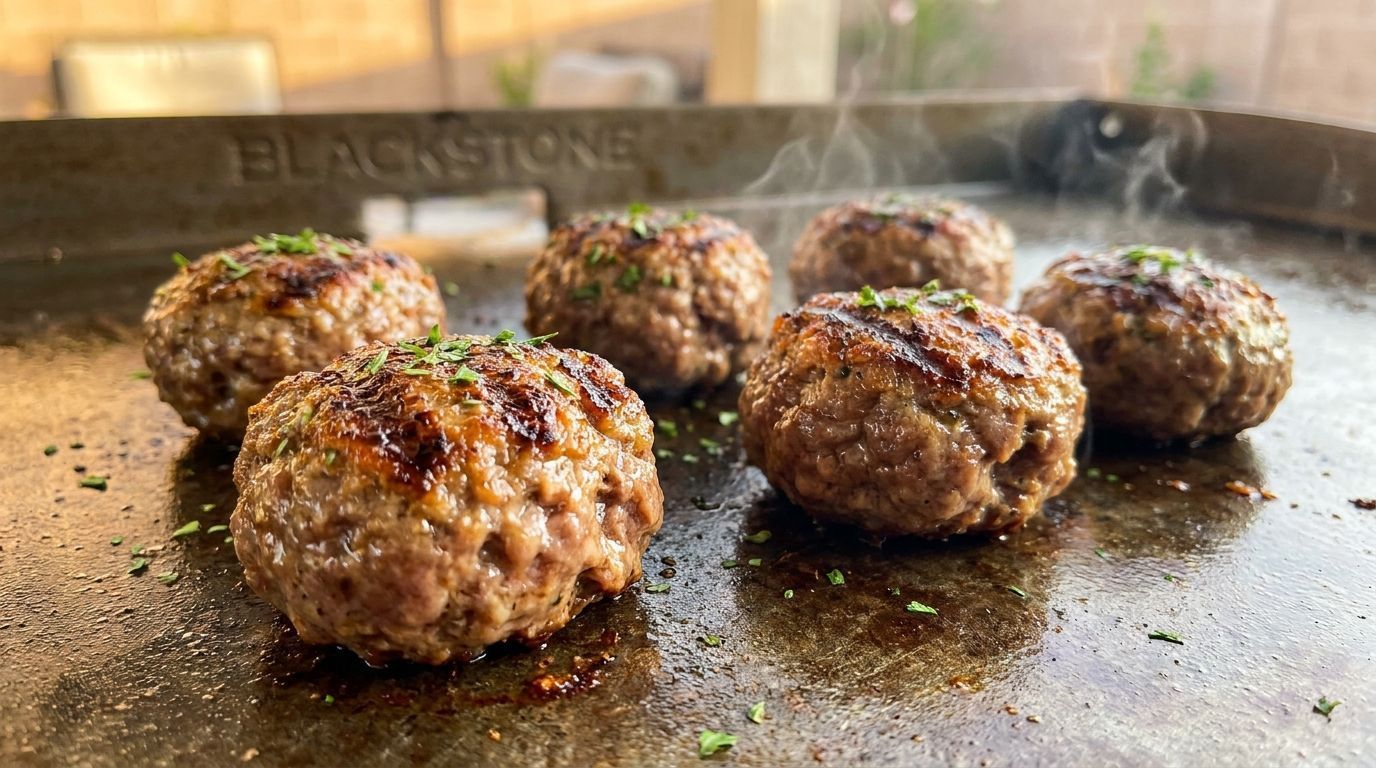
Learn how to make flavorful burger balls on your Blackstone grill. This easy recipe is perfect for beginners and packed with taste!
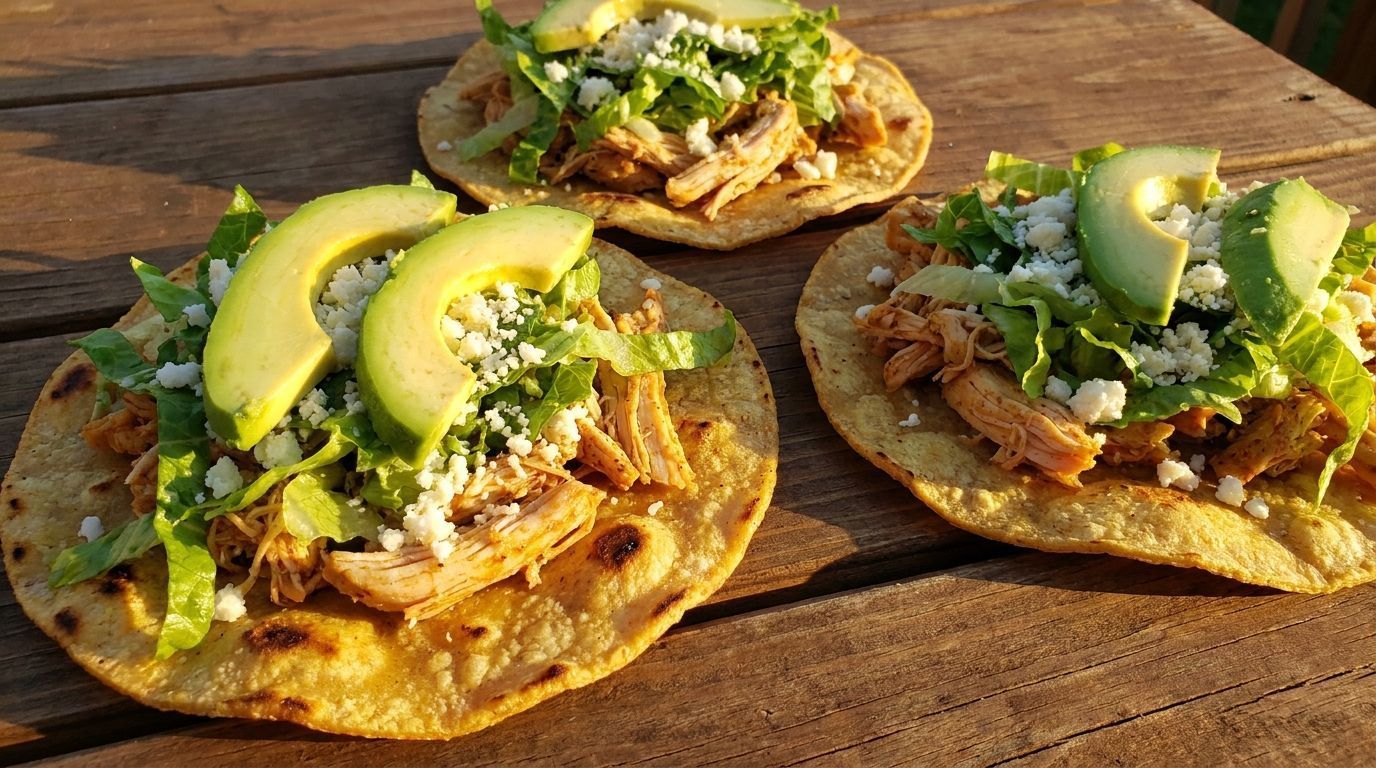
Try this easy chicken tostadas recipe using your Blackstone grill. Perfect for beginners, it's a fun meal for the whole family!
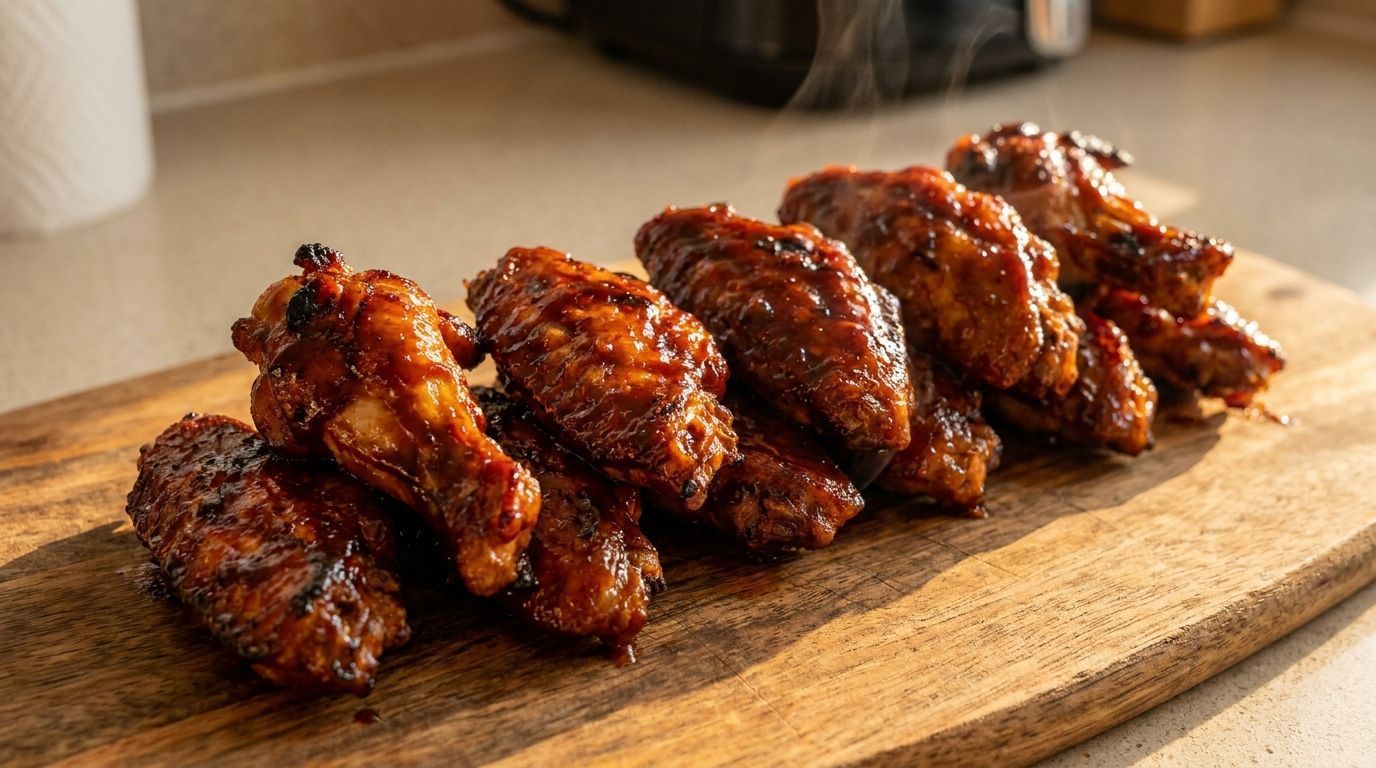
Learn how to make flavorful chicken wings on your Blackstone grill with this easy recipe. Perfect for game day or any gathering!
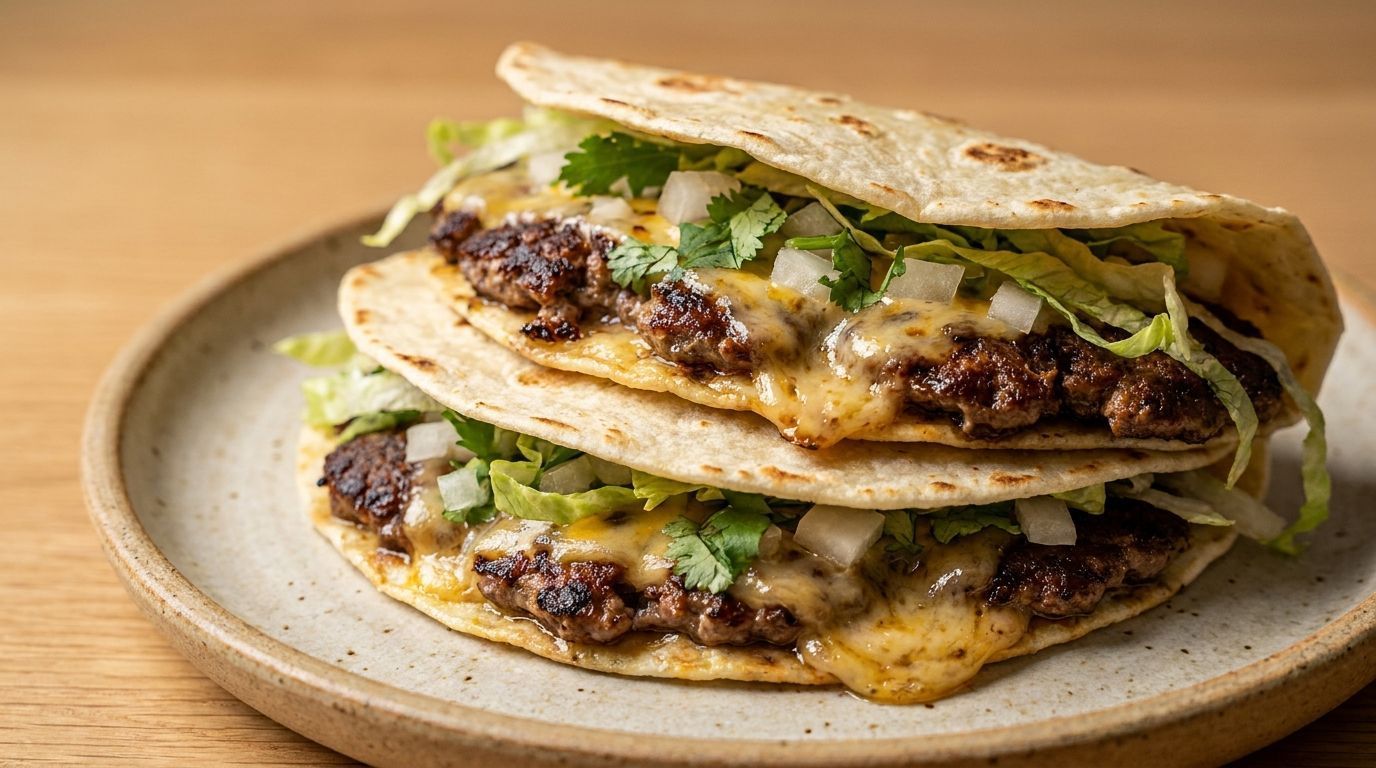
Try this easy smash tacos recipe using your Blackstone grill. Perfect for beginners, these tasty tacos are a fun twist on a classic favorite.
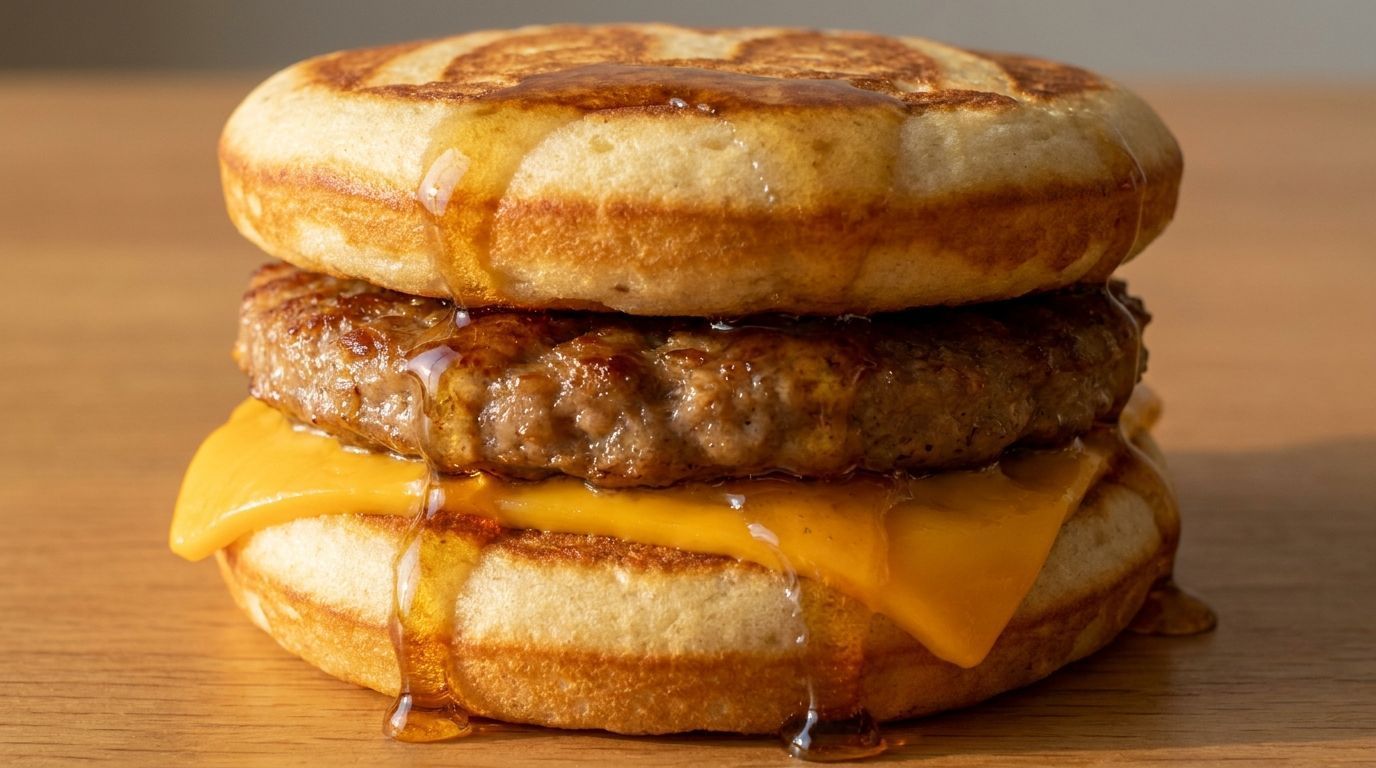
Make tasty breakfast McGriddles at home with this easy recipe. Perfect for beginners and great for your Blackstone grill from M&D Enterprises.
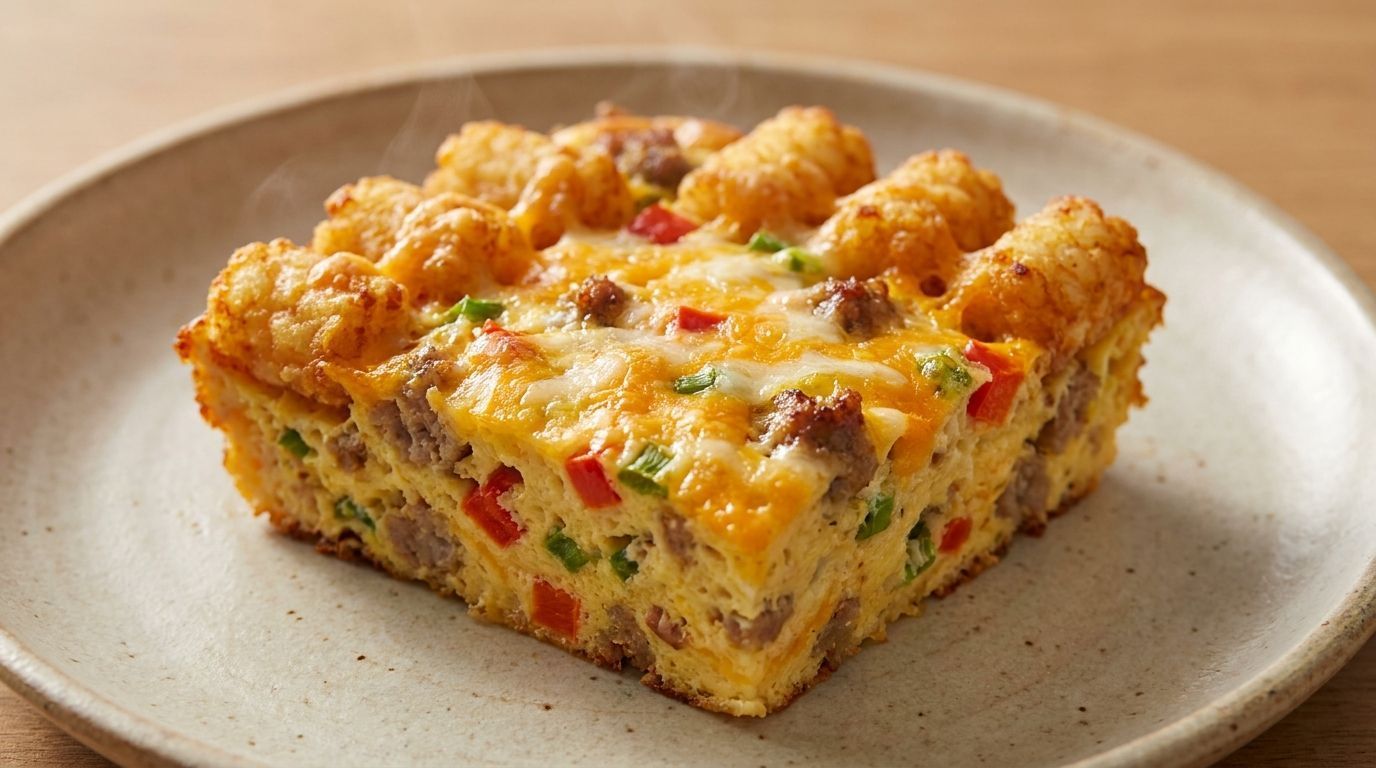
Try this easy Tater Tot Breakfast Bake recipe, perfect for beginners and made for your Blackstone grill. Enjoy a tasty start to your day!
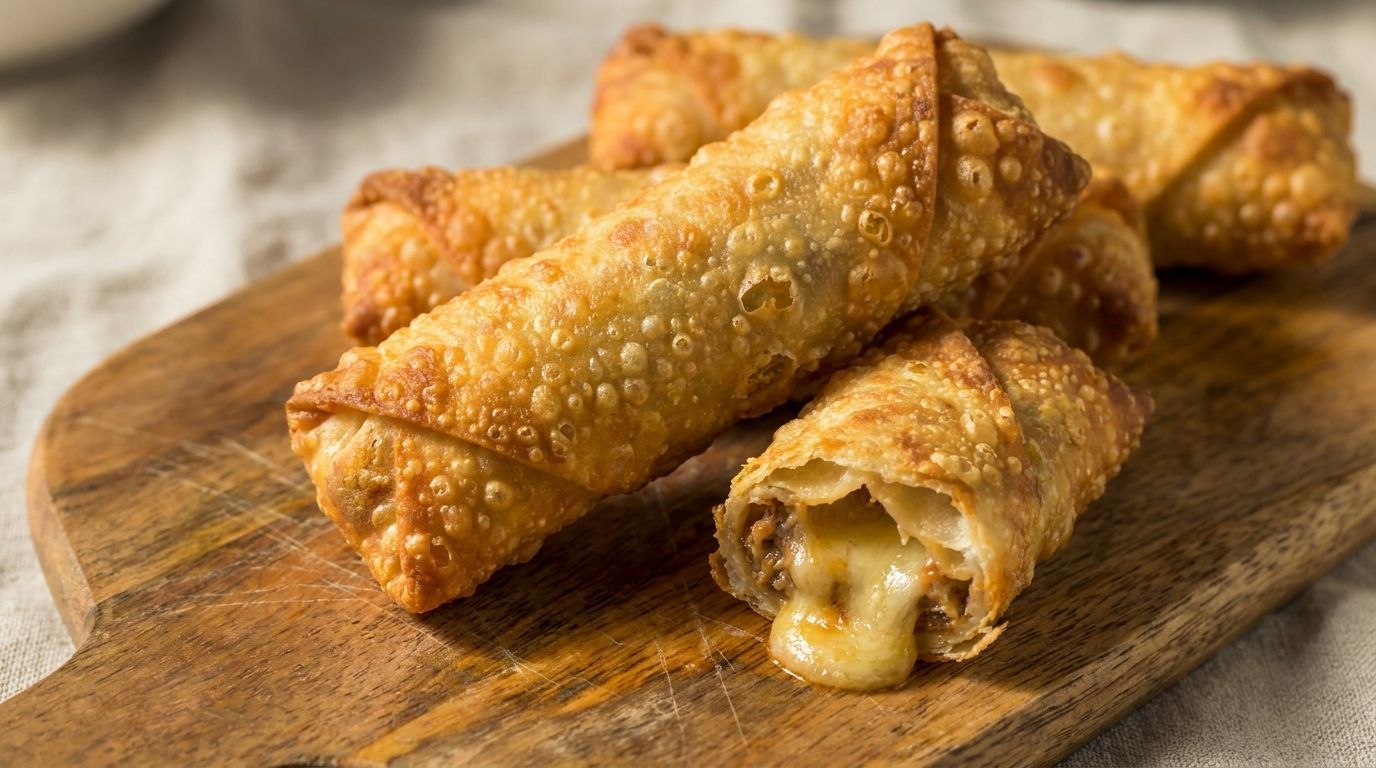
Learn to make tasty beef and cheese egg rolls using your Blackstone grill. Perfect for beginners, this easy recipe will impress everyone!
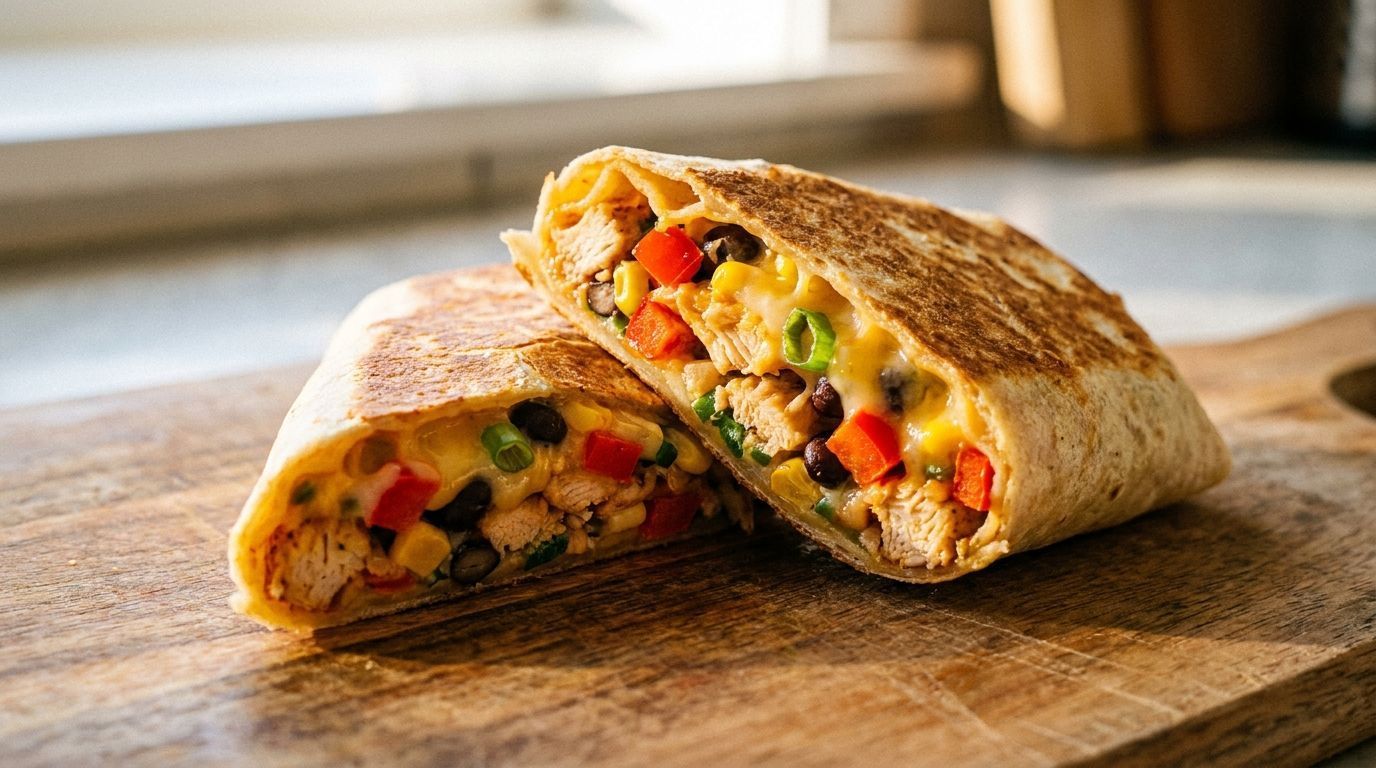
Try these easy and tasty crunchy wraps, perfect for beginners! Cook them on your Blackstone grill for a satisfying meal.


