8 Steps to Restore a Thin, Weedy Lawn

Luke Fuqua • June 1, 2026

Don't Waste Money on New Sod. Here is the Ultimate 8-Step Formula to Fix Soil Compaction, Kick Out Weeds, and Bring a Dying Lawn Back to Life.


Bare spots. Crunchy, dead patches. A yard full of crabgrass and dandelions that makes you want to lock yourself indoors until winter.

If you look out your window and feel like giving up hope on ever having a beautiful, thick green yard, hold on. You don't need to bulldoze your property and spend thousands on new sod. With a little strategic DIY work, the right timeline, and commercial-grade outdoor power equipment, you can completely restore a tired lawn into a lush green carpet.

Whether you’re battling a rough Western Oklahoma summer or trying to recover from a harsh winter, this step-by-step restoration checklist will bring your turf back to life.


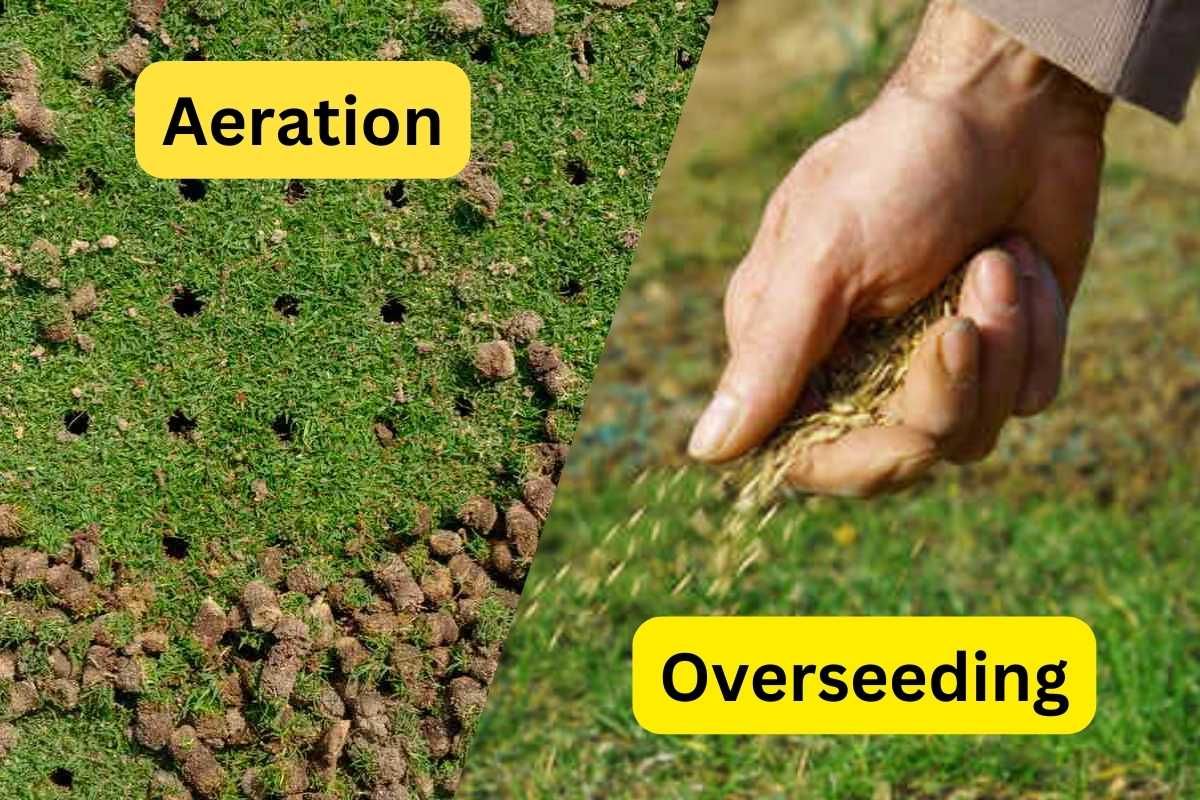
1. Clear Out the Thatch "Suffocation" Layer


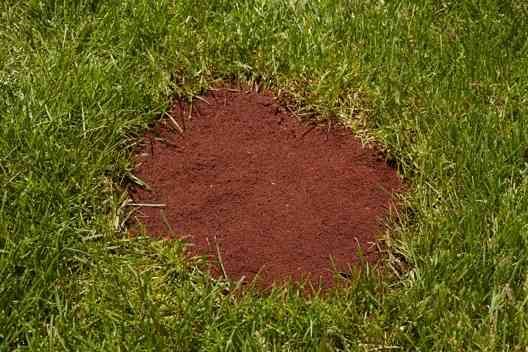
Before you dump fertilizer or water on your grass, you have to make sure those nutrients can actually reach the roots. This starts with checking your lawn’s thatch—the dense layer of dead grass clippings, roots, and organic debris trapped between your green blades and the soil surface.


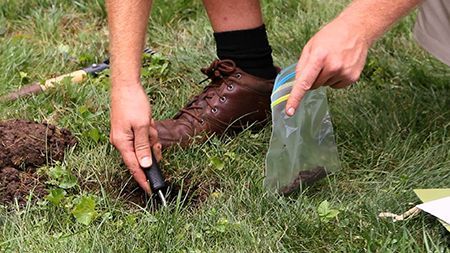
To test it, dig up a small, few-inch-deep wedge of your yard. If that spongy brown layer of thatch is over a half-inch thick, it’s actively suffocating your lawn by blocking water, air, and fertilizer.


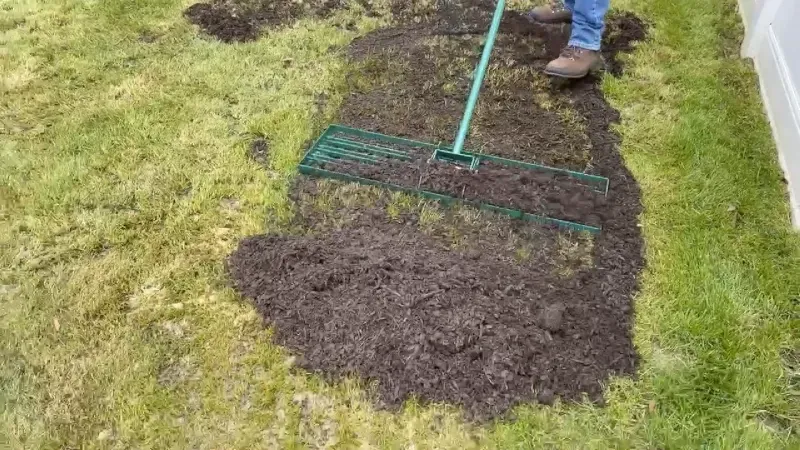
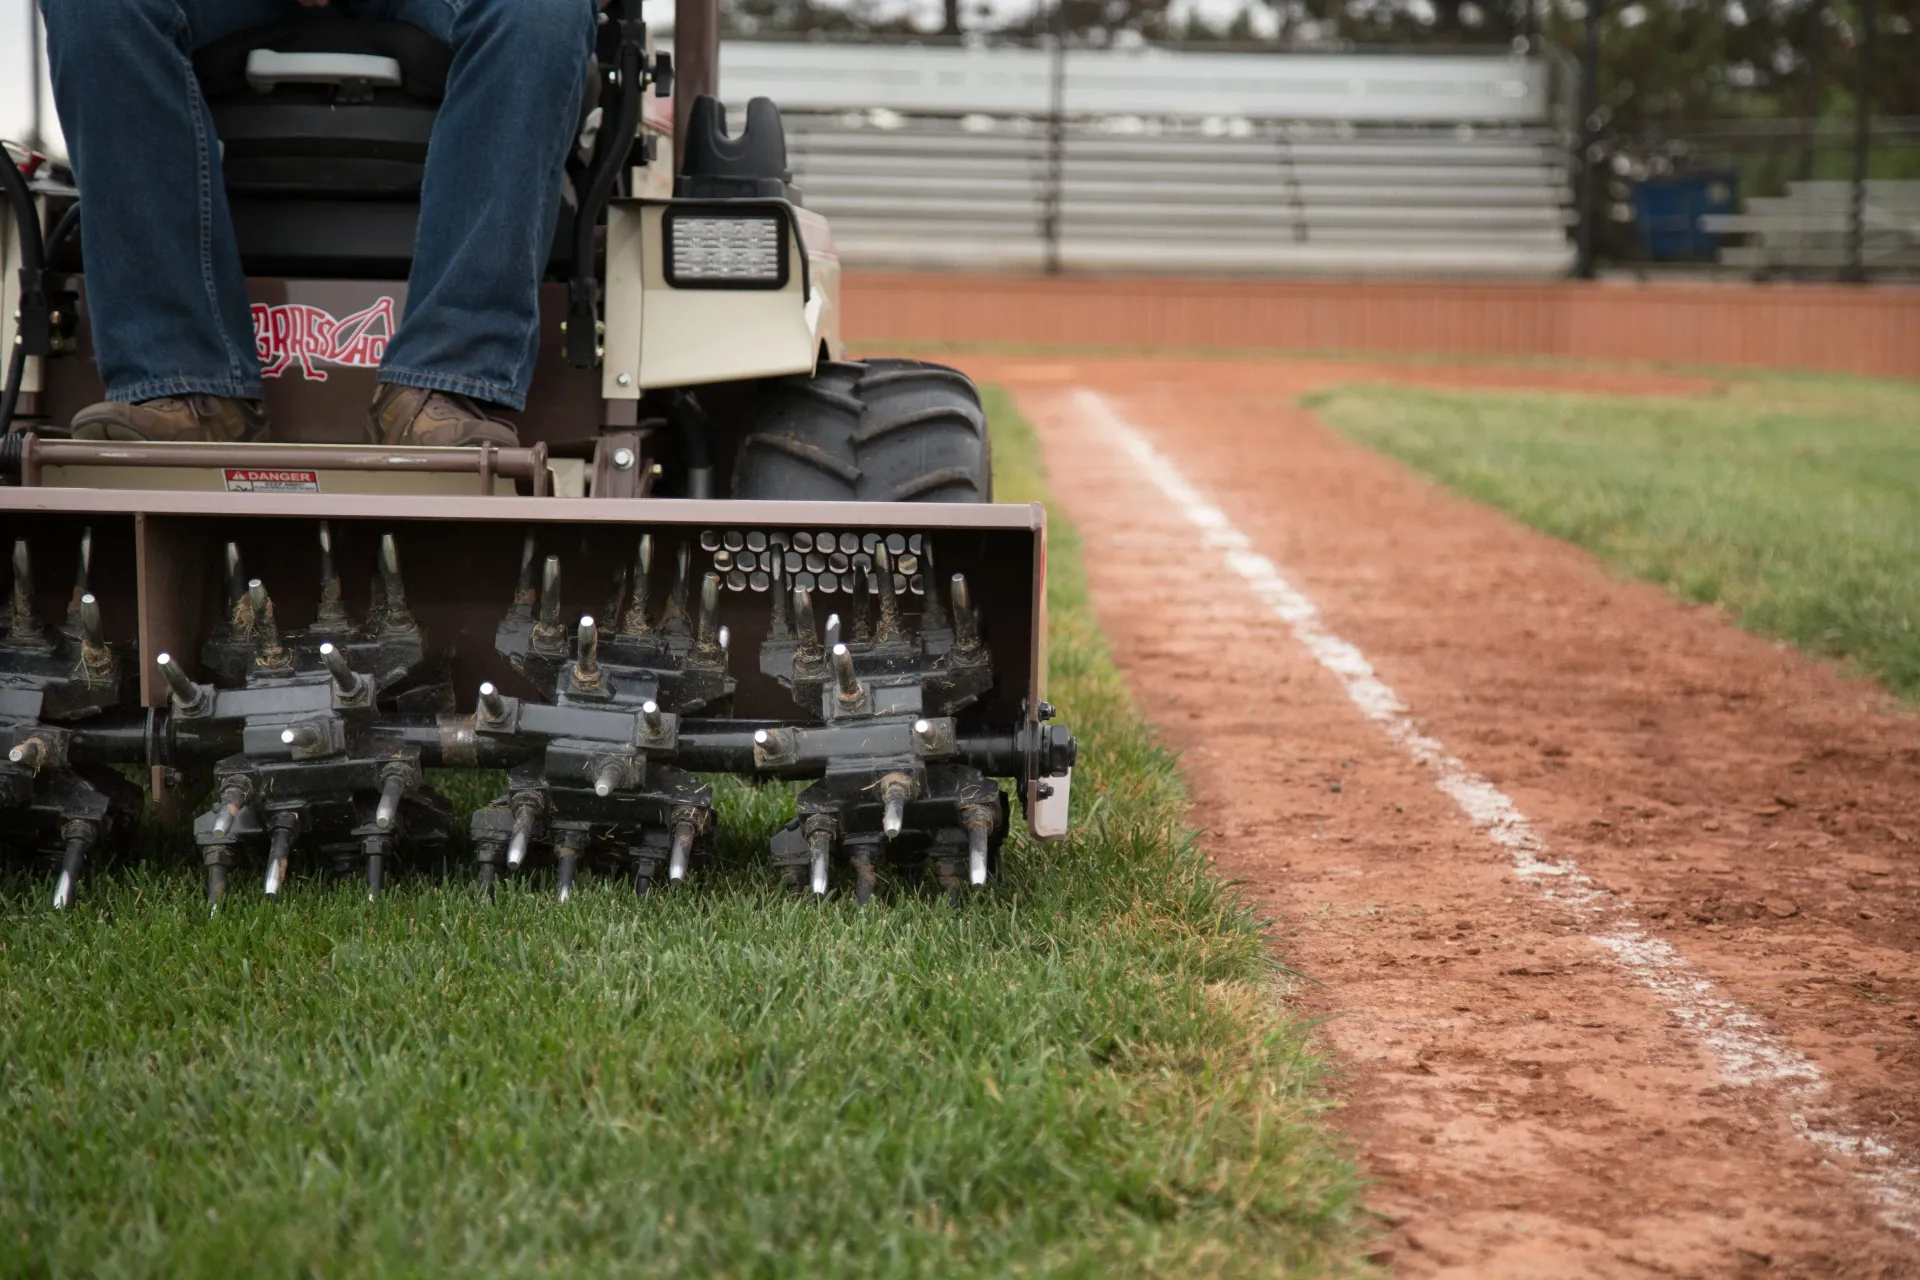
How to fix it: For small patches, a heavy-duty manual thatch rake works. But if you have a sprawling yard, you need to save your back and use a mechanical dethatcher or vertical mower to slice through the debris and pull it to the surface.


Best Time: Early spring or early fall when the lawn is actively growing and can recover quickly.


🔗 Planning your seasonal maintenance checklist? Check out our complete guide to Spring Evolution Lawn Maintenance to prep your equipment for the job.


2. Smooth Out Bumps and Divots


A bumpy yard isn't just an eyesore—it's an ankle-twisting hazard and a nightmare for your lawn mower blades. Scalping your grass on high spots while missing low spots ruins the look of a clean cut.


For Low Spots (Depressions): For small divots, mix equal parts topsoil and organic compost. Rake it smooth into the hole until it's level with the surrounding grass. For deep holes, carefully slice and pull up the existing sod layer, fill the underlying hole with your soil mix, pack it lightly, and lay the sod back down.


For High Spots (Bumps): Slice a "T" shape into the sod over the bump, peel the edges back, shovel out the excess underlying dirt, roll the sod flaps back down, and water thoroughly.


3. Fix Your Soil Chemistry


You can throw the most expensive grass seed on earth at your yard, but if your soil’s pH balance is off, the roots literally cannot absorb nutrients. Think of it as a locked door—incorrect pH locks up the fertilizer so your grass starves.


The Action Step: Pick up a simple soil testing kit or send a sample to your local county extension office.


The Target: You are looking for a balanced pH level (usually between 6.0 and 7.0 for most regional grasses). If your soil is too acidic, you'll add lime; if it's too alkaline, you'll need sulfur.


4. Feed It (Without Burning It)


Once your soil chemistry is balanced, your starving yard needs a premium meal. However, too many homeowners overdo it with fast-acting nitrogen, which creates a quick flash of green but leaves the grass vulnerable to disease and root burn.


The Strategy: Apply a premium, slow-release fertilizer. This ensures a steady, slow-drip stream of essential nutrients like Nitrogen (for color and blade growth), Phosphorus (for deep root establishment), and Potassium (for overall drought and disease resistance). Always apply according to your soil test results to prevent chemical runoff.


5. Keep the Soil Biology Alive


A truly healthy lawn isn't just about the grass you see; it's about the microscopic ecosystem happening underneath. Healthy soil should contain 2% to 5% organic matter to feed beneficial microbes and earthworms. These invisible helpers naturally break down clippings, aerate the soil profile, and fight off turf diseases.


How to build it up: Skip the pure chemical routines and top-dress your lawn with a thin, quarter-inch layer of finely screened organic compost right after you prepare the surface.


6. Open Up the Soil Profile with Core Aeration

Over time, foot traffic, heavy lawn mowers, and clay-heavy soils compress the ground until it's as hard as concrete. Air and water bounce right off the surface.


[Hard, Compacted Soil] ---> Water/Nutrients Bounce Off ---> Shallow Roots, Dying Lawn

[Core Aerated Soil]    ---> Open Paths Created        ---> Deep Roots, Lush Green Lawn


Core aeration is the secret weapon of professional turf managers. By pulling physical plugs or "cores" out of the dirt, you instantly relieve compaction, giving roots the physical room they need to grow deep and strong.


Pro Tip: Don’t use spike aerators that just push the dirt sideways and increase compaction. Use a commercial-grade pull-behind or self-propelled core aerator that genuinely removes the soil plugs.


7. Overseed with Premium Regional Seed


Now that your soil is dethatched, leveled, balanced, and aerated, it’s finally time to introduce fresh, resilient genetics to crowd out the remaining weeds.


The Technique: Split your total seed amount into two equal piles. Run your broadcast spreader across the entire yard walking North-to-South with the first half, then spread the second half walking East-to-West. This cross-hatch pattern eliminates bare stripes and ensures total, uniform coverage. Lightly rake or roll the area to guarantee good seed-to-soil contact.


8. Nail the Post-Care Watering Schedule


Restoring a lawn isn't a weekend project that you can walk away from. The first 4 to 6 weeks dictate your total success. New seed cannot dry out, even for a single afternoon, or the young germinated sprouts will die.


The Restoration Aftercare Checklist:

Weeks 1-3: Mist your lawn lightly 2 to 3 times a day for just 5 to 10 minutes to keep the top layer of soil damp.


Weeks 4-6: Once the new grass hits about two inches tall, scale back to deep, infrequent watering (1 inch of water per week, delivered in longer, single morning sessions) to force the roots to stretch deep into the ground.


The First Cut: Wait to mow until the new grass reaches 3.5 to 4 inches tall. Crucial warning: Make sure your mower blades are razor-sharp. Dull blades will pull up and shred tender new roots rather than cleanly slicing them.


📺 Watch Our Step-by-Step Video Guides

Need to see this gear in action before you tackle your property? Check out our quick video breakdowns direct from the shop floor:


Ready to Bring Your Lawn Back to Life?

Don't fight a losing battle with worn-out residential equipment. From heavy-duty core aerators and dethatchers to premium zero-turn mowers featuring razor-sharp commercial decks, we have the precise fleet you need to get the job done right.

📌 Need a machine upgrade or precision blade sharpening before you start your restoration? Browse our full lineup of premium outdoor power equipment at M&D Enterprises or drop by the shop today to speak with our local turf specialists!

Share Our Blog Post(s) However You'd Like!

Contact

For More Information Regarding this mower please get in touch with our digital team below, or come and see us in store at one of our 5 locations. We like phone calls too!

Contact Us


Don't be a stranger!

M&d Enterprises & The LawnMower Shops On Maps

Person riding a red riding lawn mower on a green lawn in front of a stone house
By Luke Fuqua May 30, 2026
Get the lush, green yard you want without destroying your turf early. Follow our ultimate 6-step spring lawn care checklist to stop weeds and prep your mower!
Person placing food on a smoky grill under a metal hood in a dark kitchen
By Luke Fuqua May 30, 2026
Discover the top features of a Green Mountain Pellet Grill, from precision temperature control and WiFi connectivity to wood-fired flavor and versatile cooking performance.
Baked fish fillets topped with cherry tomatoes, lemon slices, herbs, and olive oil
By M&D Kitchen May 25, 2026
Learn how to make a flavorful Mediterranean-style cod dish on your Blackstone grill. Perfect for beginners, this recipe is easy and delicious!
Grilled cheese sandwich oozing melted cheese on a wooden cutting board
By M&D Kitchen May 23, 2026
Learn how to make a mouthwatering spinach and mozzarella grilled cheese using your Blackstone grill. Perfect for beginners!
Three cheeseburgers on a wooden surface, with melted cheese, bacon, and lettuce.
By M&D Kitchen May 21, 2026
Learn how to make mouthwatering cheesy bacon burgers using your Blackstone grill. Perfect for beginners and packed with flavor!
Plate of loaded nachos topped with avocado, cheese, salsa, and sour cream
By M&D Kitchen May 19, 2026
Try this easy Breakfast Chilaquiles recipe, perfect for beginners! Cook it on your Blackstone grill and enjoy a flavorful start to your day.
Grilled steak with melting butter and herbs on a wooden cutting board
By M&D Kitchen May 11, 2026
Discover how to prepare a delicious grilled tomahawk steak with herb butter, perfect for your Blackstone grill. Easy steps for beginners!
A bowl of creamy dip garnished with herbs and olive oil on a rustic wooden table.
By M&D Kitchen May 10, 2026
Learn to make a tasty roasted eggplant dip with simple steps. Perfect for beginners using a Blackstone grill.
Grilled sandwich with melted cheese, tomato, and greens on a wooden cutting board
By M&D Kitchen May 9, 2026
Try this easy mortadella sandwich recipe, perfect for beginners. Enjoy the rich flavors with your Blackstone grill from M&D Enterprises!
Two flaky pastry bars with caramel filling on a wooden cutting board in warm light
By M&D Kitchen May 9, 2026
Discover how to make easy and tasty Chocolate Marshmallow Wraps on your Blackstone grill. Perfect for beginners and a sweet treat for all!
Three grilled chicken tacos with avocado, lettuce, and salsa on a plate
By M&D Kitchen May 8, 2026
Discover a simple and delicious spicy grilled chicken taco recipe perfect for beginners. Cook with your Blackstone grill from M&D Enterprises!
Three cheeseburgers stacked on a wooden board by a sunlit window.
By M&D Kitchen May 8, 2026
Learn how to make easy and tasty mini cheeseburgers using your Blackstone grill. Perfect for family gatherings and beginners!